How to Caulk Anything - An Easy DIY
How to Caulk Anything - An Easy DIY
Caulking the gaps in your home is a relatively simple DIY job. Our handy guide on caulking will tell you what caulk is, the materials and tools you’ll need, and how to apply caulk to the structures in your home.

What is Caulk?
Caulk is a sealant used to fill gaps and seams in various home structures. These include bathtubs, showers, windows, doors, kitchen structures, and plumbing. Caulk was originally used to seal gaps between wooden boards in ships to prevent water from seeping in and damaging the wood.
Determining Whether You Need to Caulk
Heating and cooling energy from a heater or air conditioner will be lost through cracks and gaps in doors and windows. There are three easy methods for testing for those energy leaks. Attempt to slip a dollar bill through the gap. If it fits, you should caulk the gap. Shine a flashlight through the gap; if light appears on the other side, you should caulk the gap. Same goes for any drafts coming from your doors or windows. You should conduct energy tests in the spring and winter.

Tools & Materials
The exact tools you'll need will vary based on what you're sealing. Here are the general tools and materials you'll need for most caulk jobs:
Utility knife
Wire brush
Painter's tape
Caulk gun
Caulk finishing tool
Caulk tube stopper
Caulk
Caulk remover solution
Washcloths
Mineral spirits
Rubbing alcohol
If you don't have a caulk gun, you can use a T-shaped instrument, like the handle of a hammer. However, we recommend using a caulk gun for a professional finish. If you need to repaint the surface after caulking, be sure to purchase paintable caulk.

Preparing to Caulk
Before you apply a new layer of caulk, you’ll need to remove the old layer. A deep, thorough clean is also required. Be sure to remove all caulk, dirt, and paint before you apply a new layer of caulk to avoid the need for future repairs.
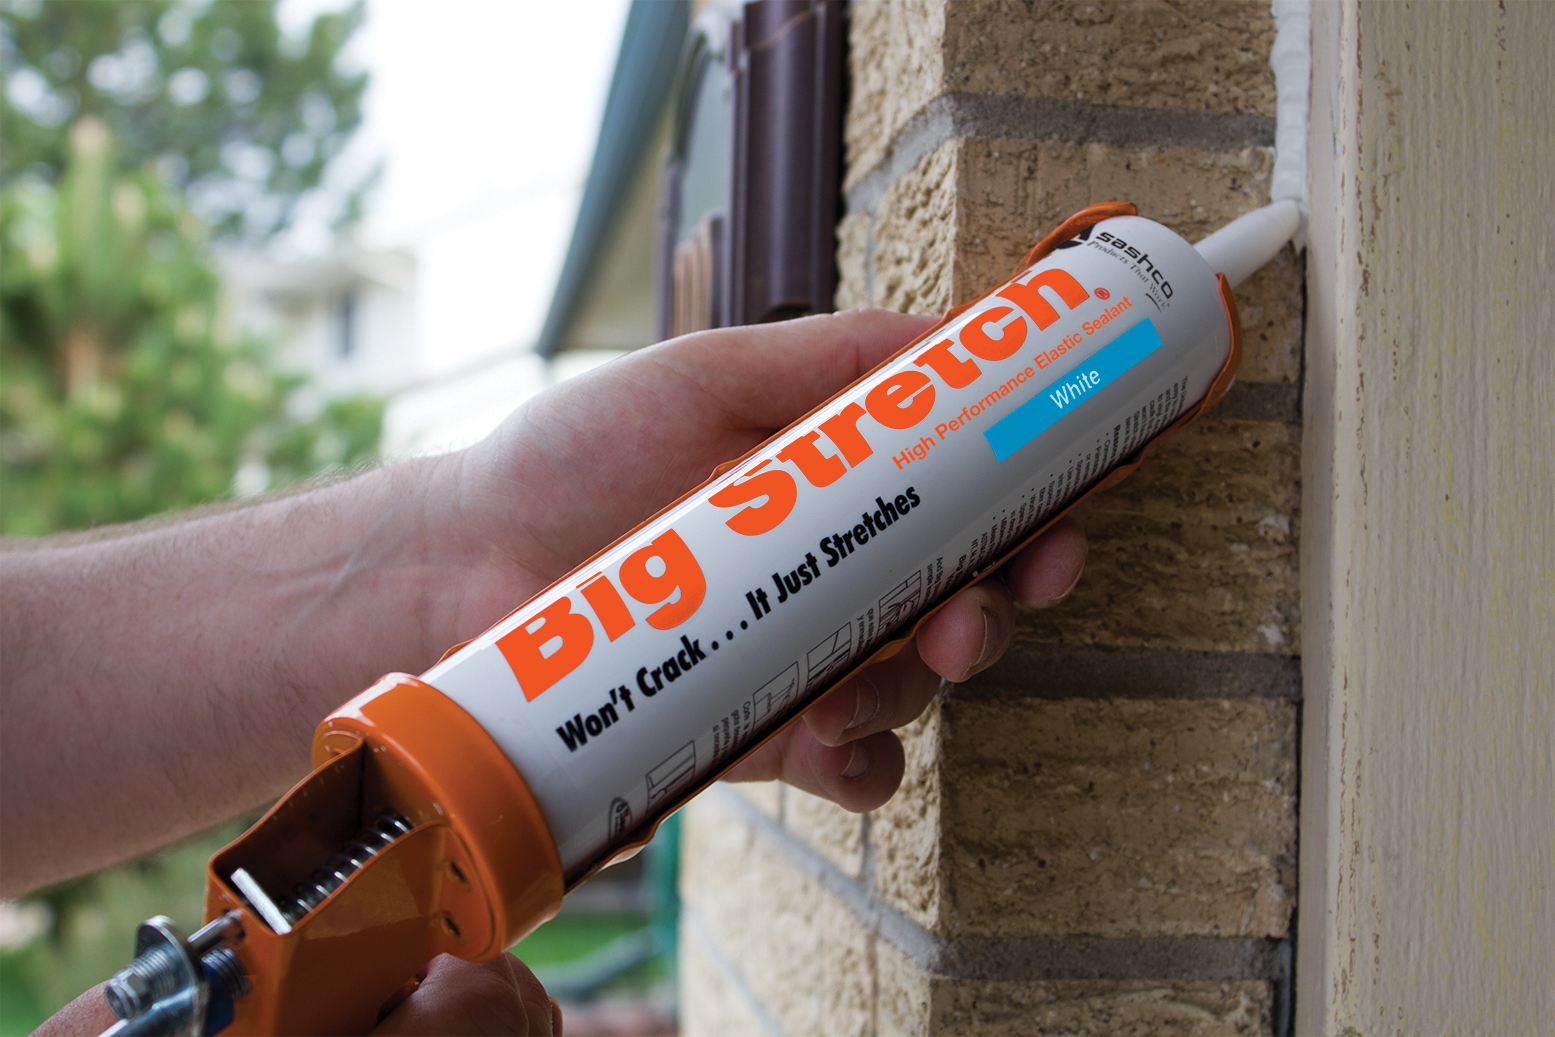
How to Use a Caulk Gun
Here’s the step-by-step process for using a caulk gun.
- Load the caulk tube into the gun. You should see a release trigger at the back end of the gun. Press it and pull back the plunger. Situate the tube of caulk into the gun, with the nozzle pointing forwards. Then push the plunger to hold the tube in place.
- Cut the tip of the caulk nozzle. Using a sharp pin, poke a hole through the tip of the nozzle.
- Hold the gun at a 45-degree angle along the gap you want to seal.
- Press the trigger to release the caulk. Move the gun slowly along the gap.
Make sure you’re fully comfortable using the caulk gun before starting the project.

Applying Caulk
Here are the steps you’ll need to follow when caulking the various structures in your home.
Windows, Doors, and Basements
- Make sure your doors and windows close properly and fully. If not, you will need to rehang them.
- Use paintable caulk for all surfaces you want to repaint, like window and door trim.
- Follow the steps for using a caulk gun.
Kitchen, Bathtub, and Plumbing
- Remove the old caulk with the caulk remover.
- Clean dirt, paint, oil, and soap scum from the surface using rubbing alcohol.
- If caulking a bathtub, fill it with water first. This will ensure the tub is pulled as far away from the wall as possible, so you can fully caulk the gap.
- Follow the steps for using a caulk gun.
- If caulking a shower, caulk the interior first, and then the exterior.

Caulking is an easy, inexpensive DIY job that you can do in minutes. Each season, you should examine the surfaces in your home that may need to be caulked. Remember, caulk will take at least 24 hours to dry, so avoid using the freshly caulked surface until the sealant has dried completely.