How to Install Ceiling Fans - Easy DIY
How to Install Ceiling Fans
Installing a ceiling fan is not as hard as you think! Knowing the tips and tricks to get the most out of your fan is important. There are many things you must consider before installing a ceiling fan because of its nature, it’s essential you take everything possible into account before purchasing one as it could end in disaster! Keep reading to learn more about how to pick the perfect fan, the benefits, cost, and how to install it!
Time and Cost
It takes on average a day to fully install the fan. A good quality ceiling fan will retail between $100 and $500, which seems relatively expensive but it's so important to spend a little more on a quality fan as the cheaper ones aren't worth the trouble they cause. If you intend on installing the fan yourself, labor costs will be free.

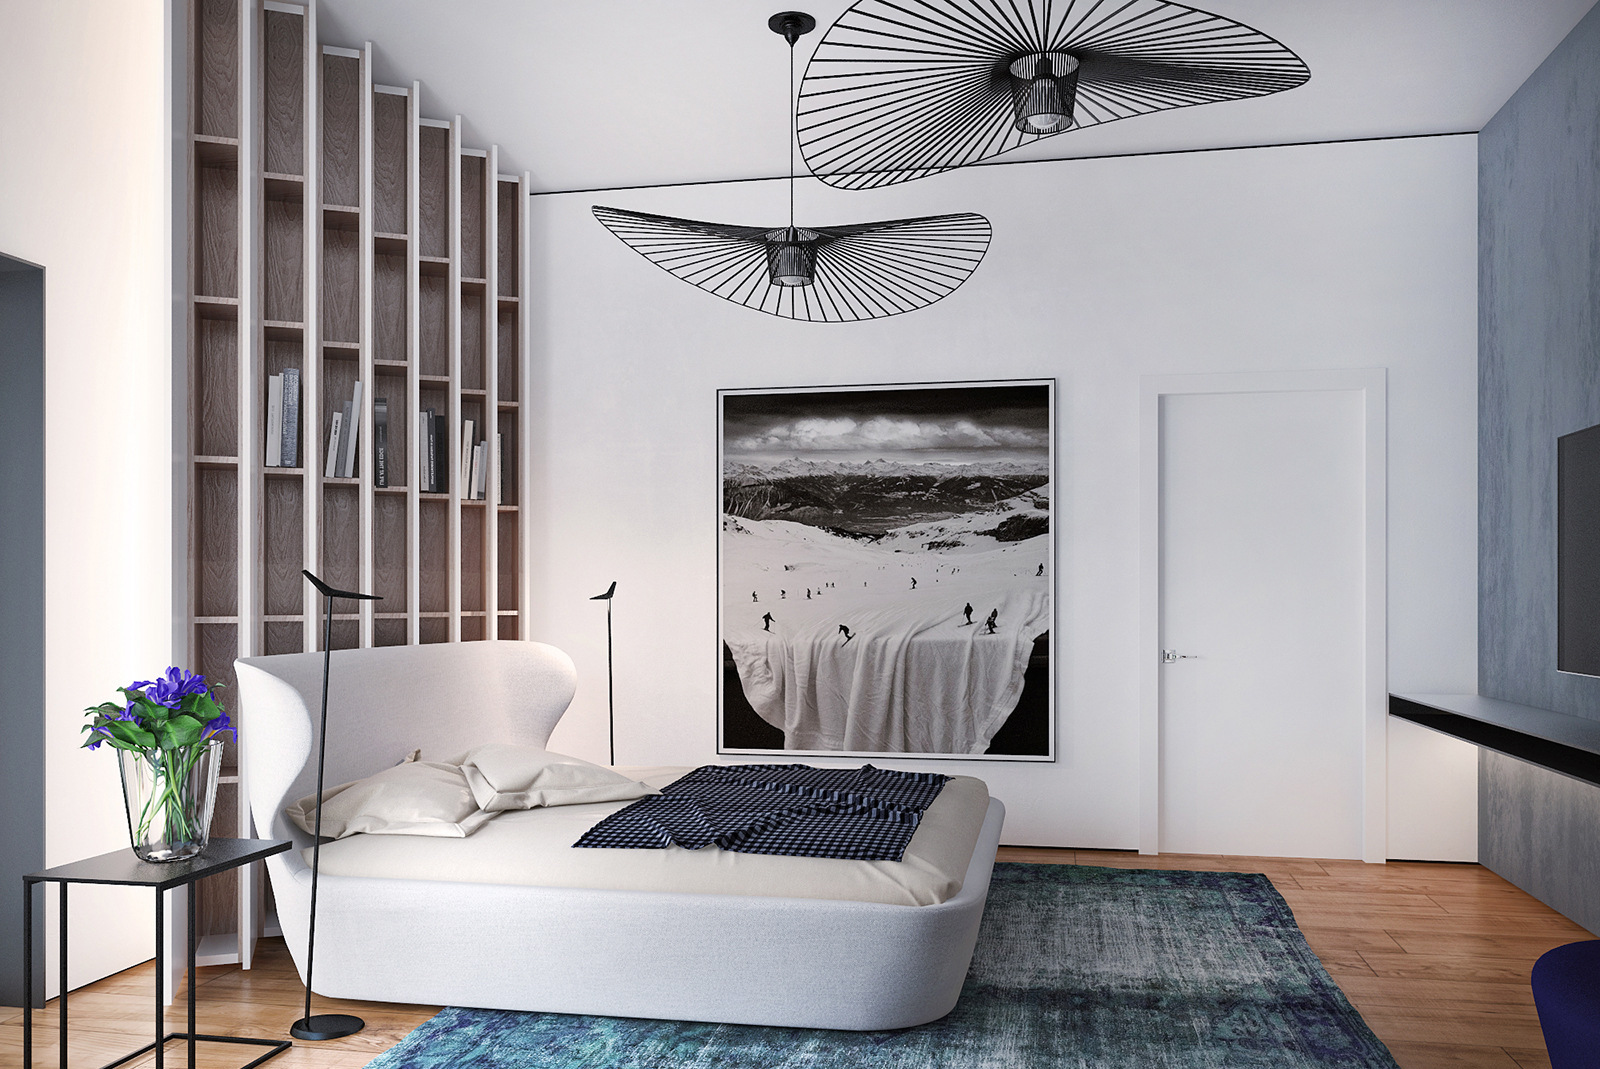
Benefits of Ceiling Fans
Ceiling fans circulate the air in an otherwise stagnant room to help cool it down. In the summer months, the fan blades can move counter-clockwise which can create a lovely cool breeze. A ceiling fan can make a room feel six to eight degrees cooler without even changing the temperature of the room at all. This also means it can save up to 40% on air conditioning costs and ultimately reduce your power bill altogether. Similarly, in winter it’s possible to change the settings on the ceiling fan so that it warms the room by going clockwise, meaning you don’t need to use your heating just as much as you would without one.
Ceiling fans can also improve the décor of a room and make your ceiling look more appealing. Although the main reason for people buying them is their functionality and how much they can improve the cost of living.
Choosing Your Fan
There are many things you must consider before buying your perfect ceiling fan. Before anything else, you must decide where you want the fan to be placed. Consider the factors within the room that you are installing and wiring the ceiling fan, anything from the room size (will the fan fit or take up too much room?), to the ceiling height and the floor to ceiling height which may be affected by the fan blades. You must remember, the ceiling fan must be able to spin on the ceiling with space the spare.
Think about the wiring before you install the fan, make sure that the electric circuit isn't overloaded. Especially if you are installing a fan with a light on too, a lot of the time people can overload the sockets which mean the electric may blow and therefore leave you with not only a broken fan and a terrible mess to clean. More importantly than anything else, choose a fan that is good quality. A poor-quality fan will not circulate as much air as a slightly more expensive one would.

Tools and Materials
Having the necessary tools for your DIY project is essential if you want your installation process to run smoothly. You’ll save time and a lot of frustration.
- Tape measure
- Ceiling Fan
- Wire connectors
- Wrench set
- Hammer
- 4-in-1 screwdriver
- Needle-nose pliers
- Wire stripper/cutter
- Non-contact voltage teaser
- A leveler (around 2 foot)
- Fan brace and box
- Switch

How to Install a Ceiling Fan: Step by Step Instructions
Step 1: Turn off the power
When you open the ceiling box you might find several pairs of wires and these may be wired to circuits other than the fixture that you're using to install your ceiling fan. Make sure you're safe and turn off your power to the whole house – this is probably the only way to make sure that all the wires in that box are dead of any electricity.
Step 2: Unscrew the screws and nuts
Be sure to remove any light bulb covers and bulbs from the fixture and then proceed to unscrew the screws and nuts that are holding the fixture base to the ceiling box. Be sure that you’re always checking the installation instructions that come with your ceiling fan and purchase an approved electrical ceiling box.
Step 3: Remove electrical tape
Electrical wires typically come in two or three colors: black, white, and green. Lower the fixture base and be sure to remove all the electrical tape or wire nuts. Be safe after this as you need to remember what wire was what color. Black is hot, white is neutral and green is the ground (this ism’t always present.)
Step 4: Disconnect the wires
Loosening the cable clamp and screwing the secures to the incoming cable box is your next step. You should remove the box and work from above (you might need a ladder if you can't reach!). Depending on how it's attached you might need to remove any accessible fasteners or pry it from the framing.
Step 5: Install the adjustable hanger bar
Your ceiling fan should come with manufacturer’s instructions that help you with the next few steps. You must install the hanger bar correctly or your ceiling fan will not work and will be very dangerous. The easiest way that hanger bars are installed is by pushing them through the hole in the ceiling that was left by the old electrical box. When the hanger bar is completely through just rotate it until it’s perpendicular to the ceiling joists.
Step 6: Assemble the fan
Again, the manufacturer's instructions are the main help here. Be careful when installing the fan as a lot of them are very heavy so they might require support while you are attaching the wires. Get someone to help you by holding it in place so there aren't any accidents.
Step 7: Complete the attachment of the fan
This only involves a few screws and if you're unsure of how to do it then the instructions should help you out.
Step 8: Install the trim and blades
Simply turn on the power and test whether in the installation has worked. Make sure all the safety procedures have taken place and there Karen’t any young children around whilst this step is happening as if it has’t worked properly it can be dangerous.

How Great Pros Can Help
Then that’s it! Your ceiling fan is perfectly placed in your home just as it would be by a professional but you’ve saved a lot of money. Got a bigger project you need help with? Let Great Pros help you find a licensed and insured contractor in your area! Give us the specific details on your project, and we’ll connect you to the best contractor for your needs. There is never pressure to buy when you use our free service.