How to Remove a Popcorn Ceiling
How to Remove a Popcorn Ceiling
Popcorn ceilings are notorious for ruining what would be beautiful rooms. Having gone out of style over a decade ago, many people find themselves wondering how to rid themselves of their textured ceiling. Fear not, with our guide we will show you the cheapest and most efficient way to remove a popcorn ceiling.
Warning: You must test your ceiling for asbestos before proceeding with this project. You can purchase a testing kit from your local hardware store. IF YOUR RESULTS SHOW EVEN 1% OF ASBESTOS, you must leave this project for professionals. If you know your popcorn coating was laid before 1980 there is a larger possibility of asbestos. Do not risk your health.
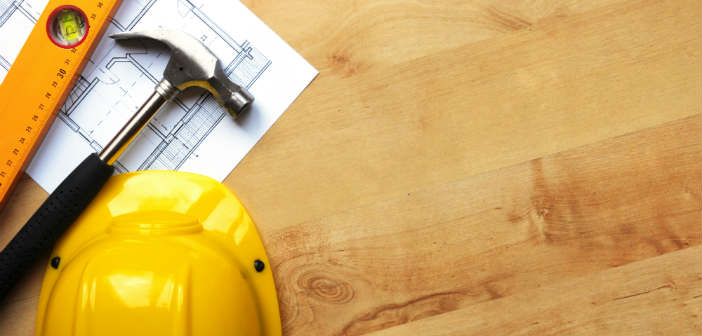
Materials:
- Spray Bottle
- Water
- Dust Mask
- Painter's Tape
- Paint and Primer
- Drop Cloth enough to cover floor
- Plastic Sheets enough to cover furniture
- Sanding Block (220 Grit)
- Drywall compound to smooth mistakes
Tools:
- Protective eyewear and safety glasses
- Step Ladder
- Drywall knife
- Paint Roller
- Extension for Paint Roller
- Paint Brush
- Large Drywall Scraper

Getting Started:
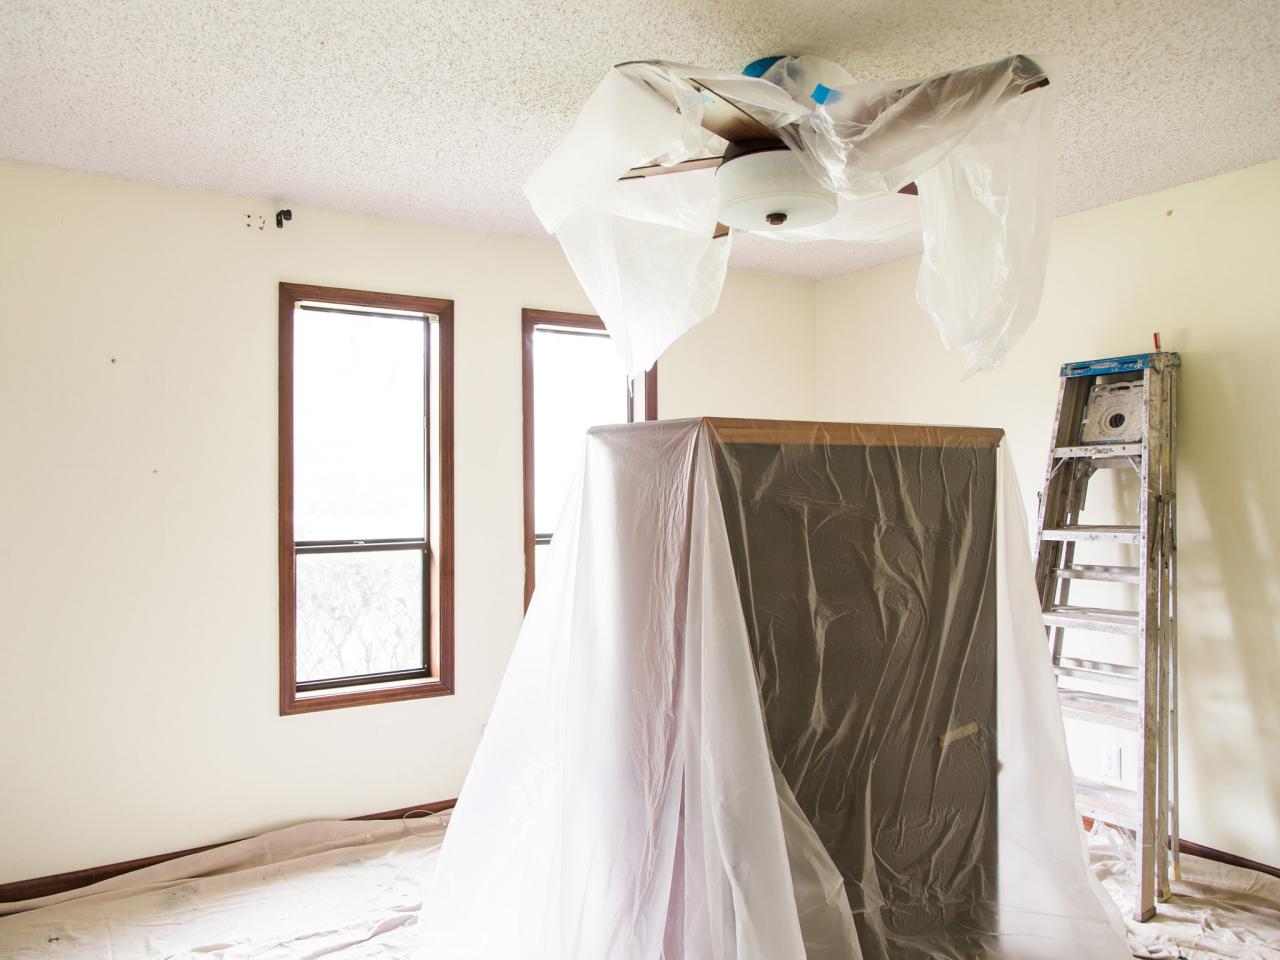
You will want to prep the room, so get the drop cloth and plastic sheeting ready. Start by removing as much furniture as possible from the room. Furniture that cannot be removed, simply move to the center of the room. Lay a drop cloth down to protect your flooring and to ease clean up. Next, cover your furniture with plastic sheeting.
Step One: Spray the Ceiling
Taking your spray bottle and filling it with warm water, begin spraying small sections of your ceiling. Work in small areas of about 6-10 square feet. After you have saturated the section, allow it to sit for about 20-30 minutes. Be mindful of how much water your spray, you don't want to oversaturate the popcorn coating and risk damaging the drywall underneath.
Step Two: Start Scraping
Put on your protective eyewear and dust mask. Grab the large drywall scraper and prepare to start the removal. Working in the saturated area, start scraping the popcorn coating off the drywall. Work in small sections at a time.

Step Three: Clean Up
You will want to clean up the debris before you begin fixing the drywall. Roll up the dry cloth and plastic sheets and shake the contents into an outside trash. Once the sheets are clean replace them over your floor and furniture.
Step Four: Touch up
Take the drywall compound and touch of any areas that require it. To smooth our the compound, use the drywall knife. Allow for the drywall compound to dry for at least 12 hours. After it dries, take the 220-grit sanding block and sand and un-smooth areas. Wipe clean with a damp cloth.

Step Five: Prime and Paint
Paint the ceiling with your paint and primer (all in one recommended). Using your extended handle paint roller, paint the entirety of the ceiling or until satisfied.
When to Contact a Professional:
If you are unsure if your wall contains asbestos, you can contact professionals to test it for you. Or you can test the wall on your own using a testing kit from your local hardware store. If your test results show that your wall contains asbestos then you must leave this project for the professionals. If you would like free quotes without the pressure or hassle, contact us. Compare profiles and prices of our licensed, bonded, and insured professionals to get the best price for you project.