How to Repair Drywall - DIY
How to Repair Drywall
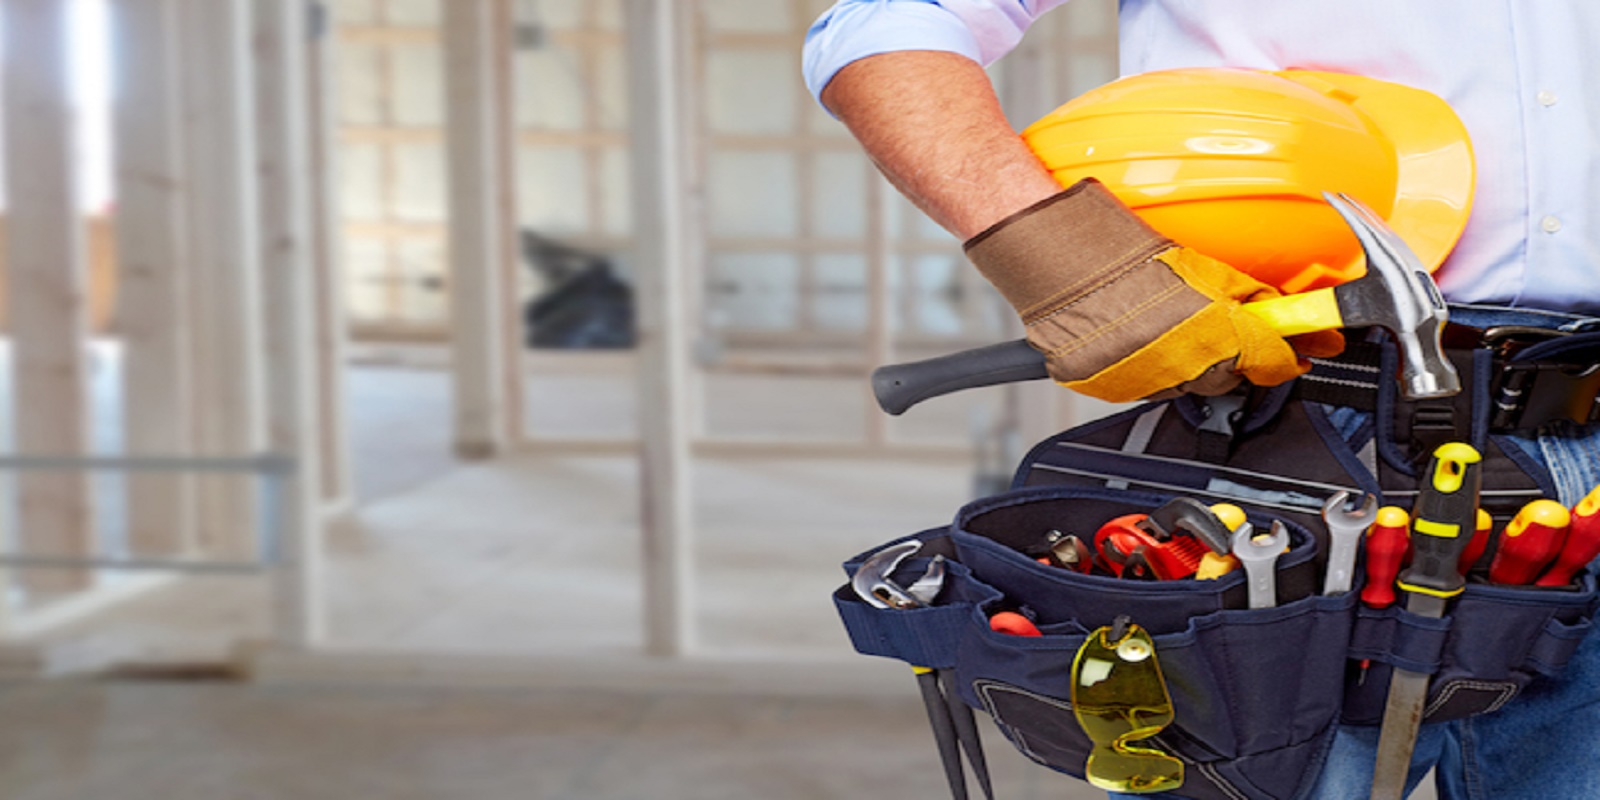
Repairing drywall is a relatively easy task. It is an inexpensive DIY project for amateurs. Our handy guide to drywall repair will walk you through the process of repairing your drywall from start to finish. If you don’t have the time to make it a DIY project, Great Pros has licensed, bonded, and insured handyman who are ready to help you with the job for an affordable price!

Things to Consider Before Starting Your Drywall Repair
While drywall repair is simple enough to do yourself at home, there are some things you should consider before heading down to the hardware store.
- What is the extent of the damage? If there is only a small crack in your drywall, you may want to consider fixing it yourself. If the crack runs deep, or there is a significant hole, it might be a good idea to call in a professional. We'll go over the different types of drywall repairs.
- Do you have the tools? Some extensive drywall repair jobs require specialized tools like drywall saws and flexible knives.
- How much drywall needs to be replaced? If you just need to add some spackle and sand it down, you can easily do it yourself in a couple of days. But if you have to replace large sections of the wall, you might want to make the small investment to have a pro come out.
Step-by-Step Guide for Drywall Repair
The exact steps you need to take will vary based on the repair you need. Below are the steps for some of the most common drywall repair jobs. Before starting any repair, be aware of the safety precautions with certain tools and equipment that you will be using.
Nail Pops
“Nail pops” occur when a nail or screw attached to the wall stud pushes itself out – usually a sign of improper installation – through the drywall or paint. Thankfully, these are quick and easy to fix.

Materials: Utility knife, taping knife, drywall screws, drill, screwdriver, fiberglass tape, drywall compound, paint, primer, sandpaper.
- Scrape away the top layer of drywall until the screw or nail is showing.
- You can choose to remove the nail and replace it with a screw, adding an additional screw nearby to make sure the drywall is secured to the stud. Or, you can hammer or screw the nail or screw into the studs, reinforcing them with drywall screws.
- The newly placed drywall screw(s) should create a “dip” in the wall just big enough to be covered by drywall compound. Be careful not to drive the screw in too deep.
- Once you’ve decided which method you want to use, cover each screw with drywall compound and cover with fiberglass tape.
- Let dry according to directions of drywall compound.
- Sand smooth.
- Cover with primer and let dry.
- Paint over the repair.
Corner Bead
Corner beads are the protective edging placed on corners where two sheets of drywall meet. These are typically made of plastic, metal, or vinyl, and are pretty resilient. Sometimes, though, both the drywall and the corner bead underneath can sustain damage.

Materials: Hacksaw, utility knife, pry bar, taping knife, corner bead, metal snips, measuring tape, nails or adhesive, hammer, joint compound, paint, primer, sandpaper.
- If the corner bead is damaged, cut into the corner bead horizontally using a hacksaw, just above and below the damaged portion.
- If only the drywall is damaged, you can use a utility knife to cut into the drywall in the same manner as step 1.
- With a utility knife, cut the damaged drywall vertically so that the vertical and horizontal cuts connect.
- Remove the damaged drywall. If you are also removing the corner bead, use a pry bar or similar tool to remove the nails connecting it to the wall. Take extra care when doing this.
- If you need to replace the corner bead, measure the corner bead to make sure it fits, and cut a piece of new corner bead.
- Use nails or adhesive to affix the new portion of corner bead to the existing corner bead.
- Apply joint compound to cover the repair. Once it sets, apply another layer.
- You may need to add one or two additional layers of compound once the first layers dry depending on the depth of the damage.
- Allow everything to dry according to compound directions.
- Sand smooth.
- Cover with primer.
- Paint over the repair.
Holes
Fixing a hole is the trickiest drywall repair job on our list because it requires more time and more tools. Smaller holes can be fixed using a self-adhesive drywall patch. Large holes, though, require a little more attention. Here are the steps for fixing both.

Materials:
For small holes: Self-adhesive drywall patch kit, measuring tape.
For large holes: Piece of drywall, pencil, drywall saw, hacksaw, 2x4, drywall screws, drill, fiberglass tape, metal snips.
- Measure the hole. If it measures less than six inches, apply a drywall patch kit and cover with drywall compound. Let dry, sand, add primer, let dry, and then paint over the repair.
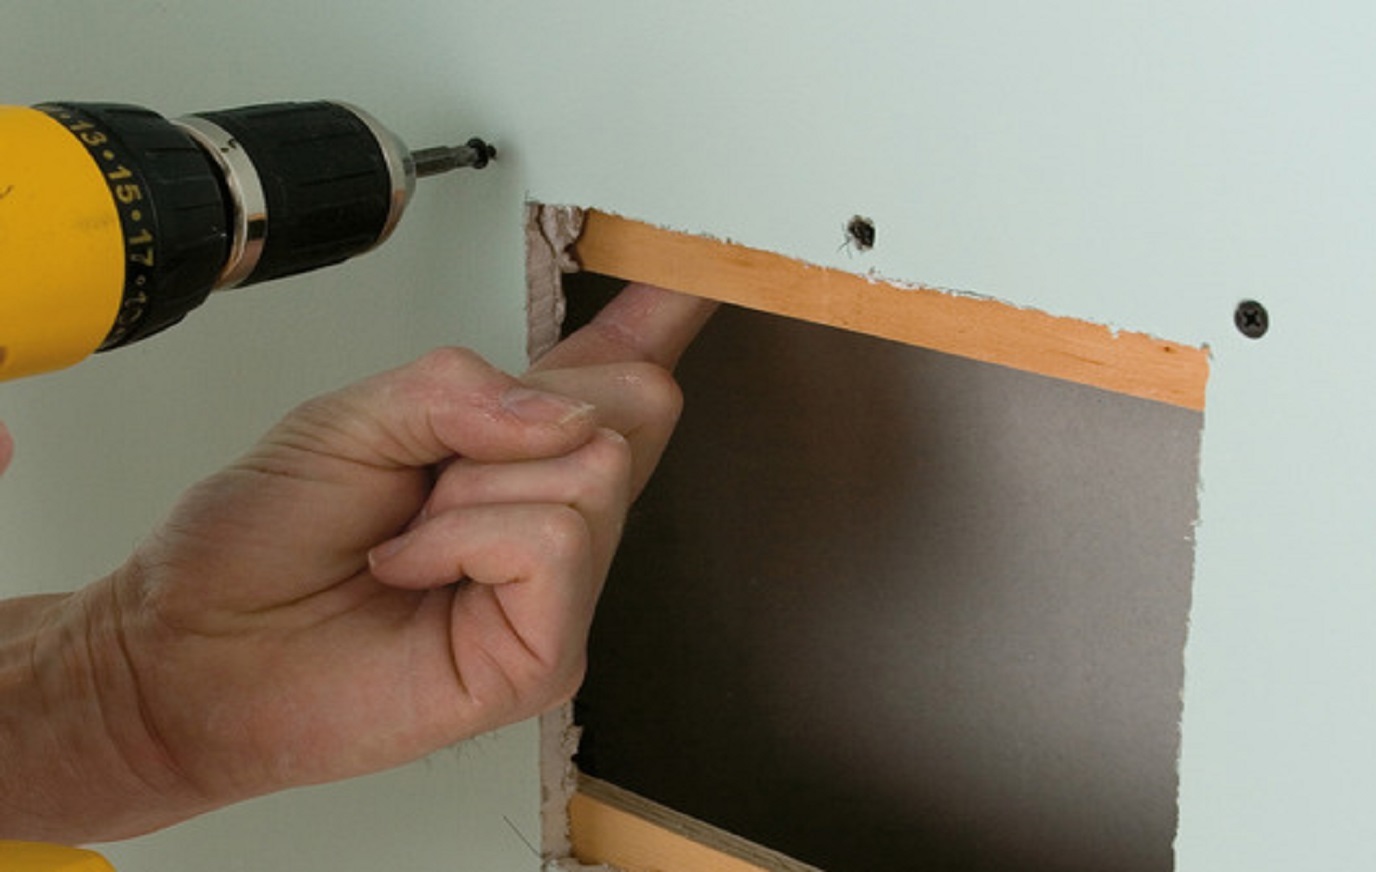
- If the hole is larger, you’ll need to cut a piece of drywall which is a little larger than the hole. Try to cut it so that it is square or rectangular.
- Holding the piece of drywall over the hole, trace the edges of the piece of drywall on the wall with a pencil.
- Use a drywall saw to cut around the hole along the edges you marked with a pencil. Make sure the cut portion is the same size and shape as the new piece of drywall.
- Using a hacksaw, cut two portions of 2x4 which are slightly longer than the vertical dimensions of the new hole.
- Place them vertically behind the new hole, and affix to the non-damaged portion of drywall just above the hole using drywall screws.
- Place the cut piece of drywall into the hole, and affix to the 2x4s using drywall screws.
- If any rough edges remain, use metal snips to trim them down.
- Tape over the edges of the new piece of drywall using fiberglass tape. The ends of the tape should extend a couple of inches past the vertical edges of the new drywall. Take care not to overlap the tape.
- Cover the tape and drywall with a thin layer of drywall compound.
- Let dry.
- Sand if you need to.
- Add a coat of primer and let dry.
- Paint over the repair.
Great Pros is Here to Help
And there you have it! Now you’ll be able to tackle any moderate drywall repair. Don’t want to do it yourself? No problem? Just tell us a little more about your drywall repair needs, and we’ll connect you with the best professional to get the job done.