How to Install Hardwood Flooring - DIY for a Better Home

How to Install Hardwood Flooring
Want to tear out that shaggy, ragged carpet and upgrade to a classic hardwood floor? Our guide tells you everything you’ll need to know about how to lay hardwood floor.
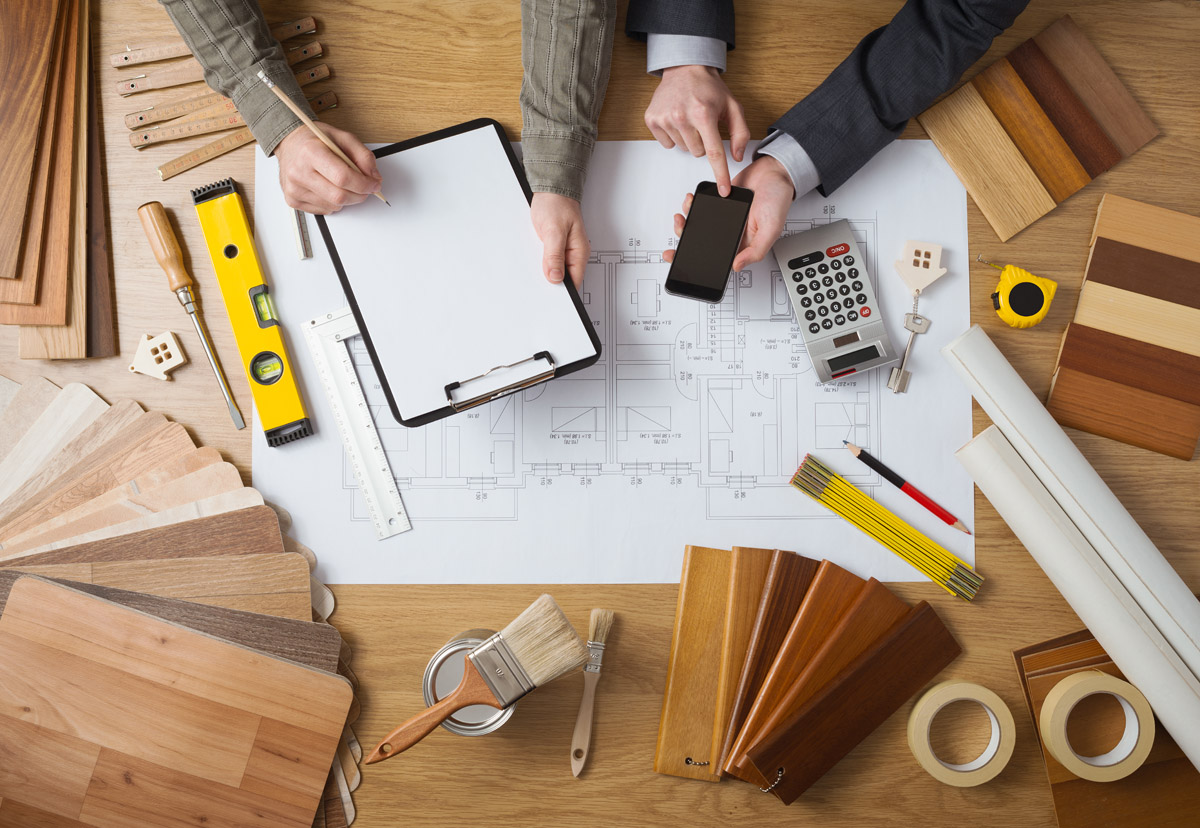
Materials and Tools

Safety Equipment
- Safety goggles
- Dust respirator
- Ear plugs or muffs
- Knee pads
- High-quality work boots
- Durable work gloves
Installation Materials
- Hardwood floorboards: 10% more than the sq foot of the room
- Wood moisture meter or concrete relative humidity meter
- Spacer blocks
- Handsaws
- Power saw
- Jamb saw (for door jambs and trim)
- Nail setting machine (pneumatic nailer)
- Hammer or rubber mallet
- Sander
- Leveling compound (for dips in the subfloor)
- Trowel
- Tapping block and pull bar
- Wood filler and putty
Misc
- Tape measure
- Level
- Straightedge
- Pencil
- Chalk
- Utility knife
Costs
The average Arizona homeowner spends between $2,300 and $6,200 on their hardwood floor install projects. Some spend as little as $1,200, while others spend as much as $10,000. Costs will vary based on the type of boards you use and whether they’re factory finished.
Need help choosing your boards and finishing option? Check out our guide on hardwood floorboards.
Step-by-Step Installation Guide
Laying your own hardwood floor will take at least two days. This guide assumes there is already a plywood subfloor in place and the boards have already been cut. Here’s how to install a plywood subfloor, and another tutorial for cutting hardwood floorboards.

- Measure the room. Figure out the square footage of the room, making a note of any wall obstructions, before purchasing the boards.
-
Choose and purchase the boards. Remember to buy 10% more wood than you think you’ll need, just in case you end up having to cut the boards. -
Let the boards adjust to the humidity level of the home. Stack your boards in the room you’ll install them in and let them adjust to your home’s natural humidity level. Ensure the room is temperature controlled. Heating or cooling systems should operate at normal levels during this time. Then, use a wood moisture meter to measure the moisture of the boards. -
Check the strength and quality of the subfloor. Most subfloors should be ¾ inches thick. If you hear any squeaks in your subfloor, fix them with a long drywall screw. Joist the squeak before removing the doors and base shoe-molding. If there are any imperfections, bumps, or uneven parts of the subfloor, sand it down or use leveling compound to fill dips. Then, sweep carefully. -
Cover the subfloor with vapor barrier paper. This is typically felt or tar paper. The edges of the paper should overlap by at least 4 inches. Once laid, staple the vapor barrier to the subfloors. Use a pencil to trace the edges of the baseboards, indicating the locations of the joists. -
Using the spacers, snap a chalk line 3/8 of an inch that runs parallel to the baseboard. Do this on the largest wall that has no obstructions. This will account for expansion and contraction of the boards during extreme weather. Make sure this line is perfectly parallel with both the unobstructed wall and the one opposite it. -
Align a long, straight board with the chalk line. Then, use a drill to bore pilot holes through the boards and into the subfloor and joist. Each board in the first row should be face-nailed at each joist location before setting the nail. Make sure each board is perpendicular to the underlying joists. -
Ensure the grooves of the boards of the second row interlock with the tongues of the first. Tap the boards of the second row so they are tightly secured to the first row. Nail through the tongue of each board, approximately 3 to 4 inches from the boards’ end. You’ll also need to add nails 8 to 10 inches along the length of the board. Don’t forget to stagger the end joints by 6 inches. -
Cut the boards to fit at the end of each row. Then, nudge the loose rows away from the second row. Use the pneumatic floor nailer to nail each row in place. -
Top-nail the last remaining rows. Use a pry bar or a tapping block and hammer to ensure the boards fit tightly together. Use wood putty to fill in face-nail holes. -
Finish the installation. Remove spacers and any remaining vapor barrier paper before reinstalling baseboards and shoe moldings. These should be nailed to the wall. Use wood putty to fill holes or gaps.

Don’t have the time or expertise to DIY when it comes to your hardwood floor installation? Great Pros can help you find a contractor who will take care of the hard work for you. All you need to do is tell us about your renovation, and we’ll connect you to local, licensed professionals who will get the job done for the right price.